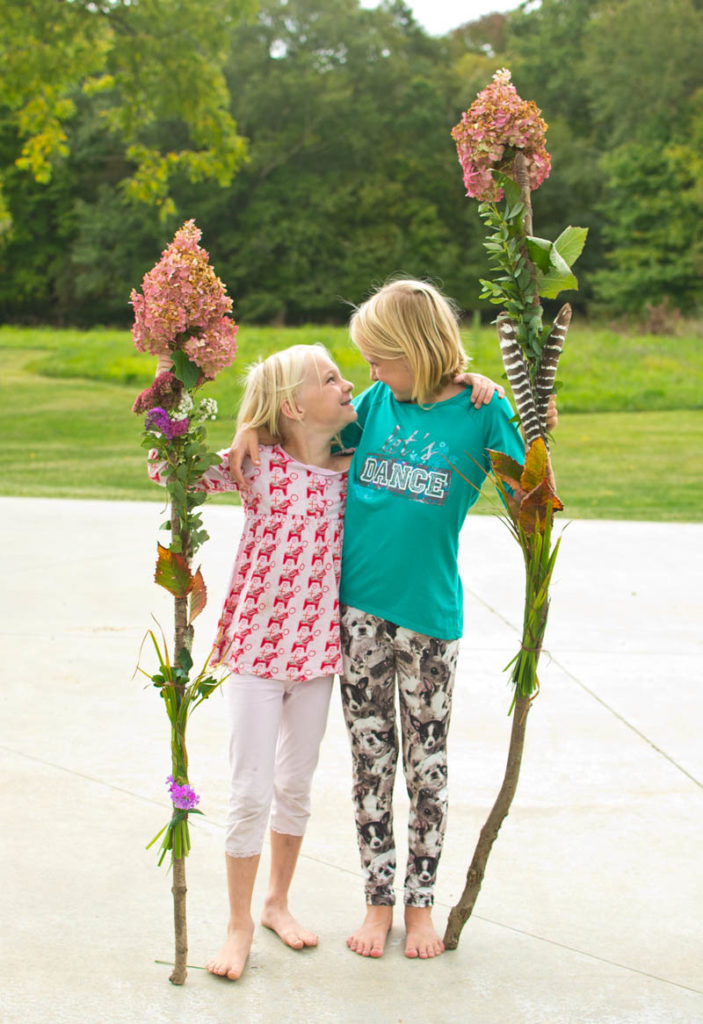
Nature crafts and process art with natural materials are good and simple ways to engage little ones in nature. Collecting the materials gives children a reason to get outside and when they start working on their project they get beneficial sensory stimulation. Above all, they have fun! But as kids get older, they sometimes lose interest in these types of nature activities and I often get asked about ideas for older children, from the age of about 9 and up. This is right at the age where I find that they start craving more practical and adventurous activities, like making and maintaining a fire, learning how to cook outside, backpacking and becoming skilled at using tools like knives and axes. I’ve noticed myself that although my youngest daughter, who is 7, is still gung-ho about most nature crafts, my oldest, who is 10, is a lot harder to woo these days. Having said that, both of them had a ball when I suggested that they decorate a hiking stick out of natural materials!
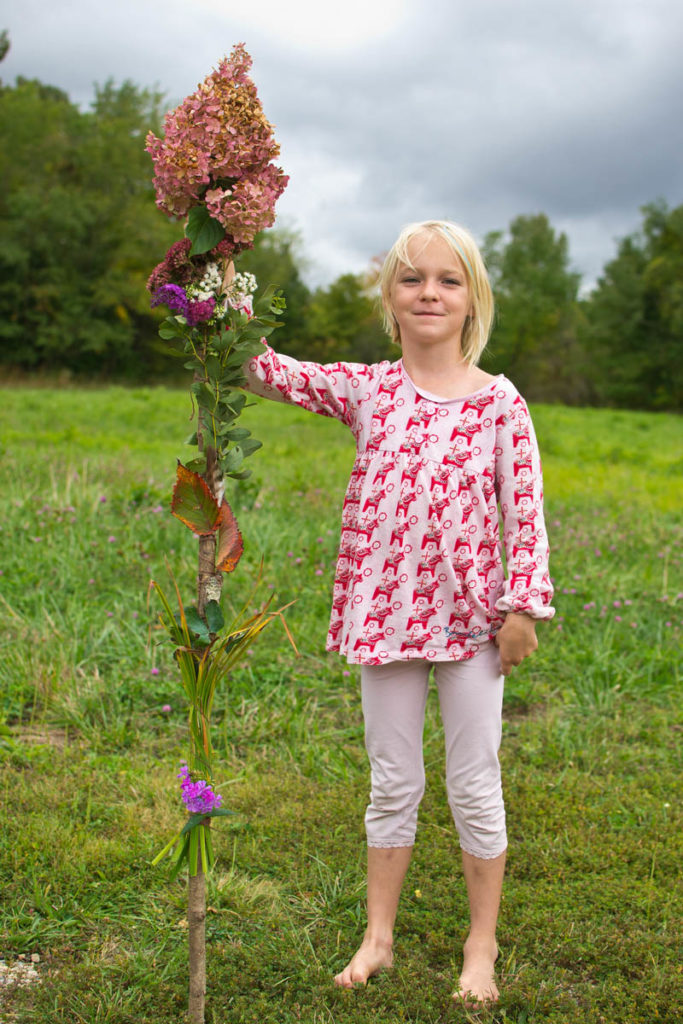 This activity is perfect for fall, when there are a lot of leaves on the ground and plants are on their last leg or have already wilted and dried. They may be down and out for the season, but they can still make for a beautiful addition to this type of nature craft. I know some people feel wary of using objects from nature for crafts and although I think it’s OK for kids to pick flowers and collect things from nature it’s important to be mindful of the impact it may have. For example, I often talk to my kids about not collecting things that are rare or in places where it’s not permitted. For this particular project, we mostly utilized flowers from our backyard.
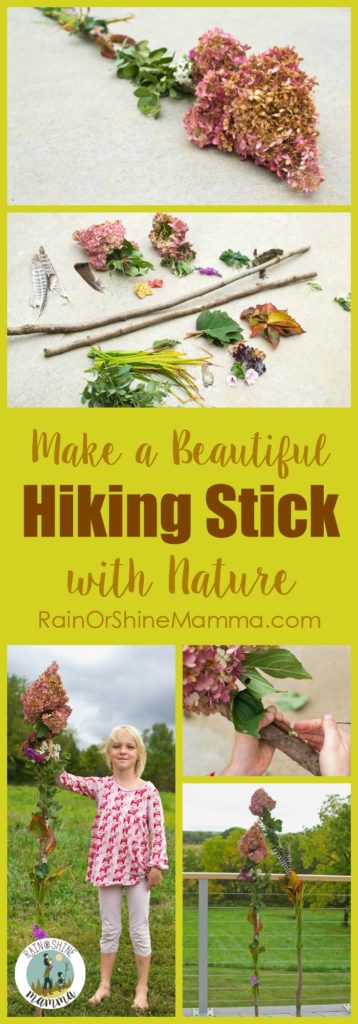
What you need to make a hiking stick:
- Scissors
- One tall stick
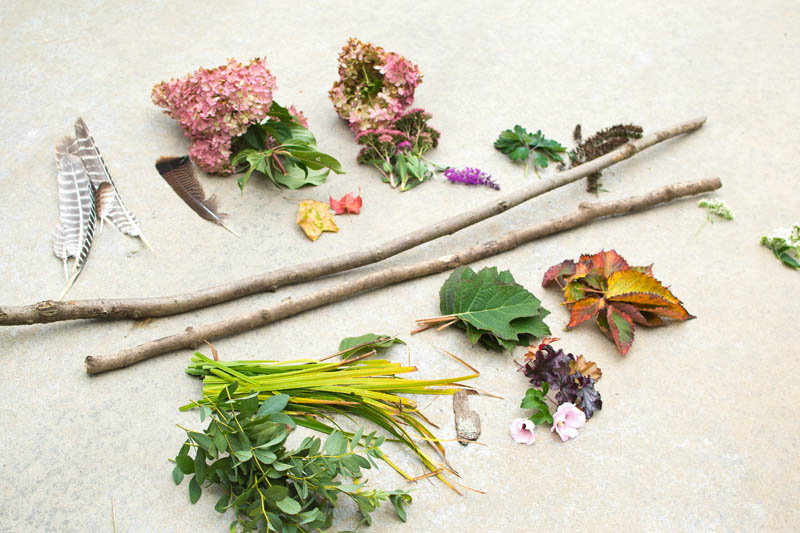
- Flowers, straws, leaves, feathers and other objects from nature
- Twine
How to do it:
- Go out in a natural area and find a tall, straight and sturdy stick. If your child holds his arm out to the side, the stick should be slightly taller.
- Collect natural materials of your choice. If you pick flowers and straws, make sure to leave the stems long, since that makes it easier to attach them to the stick.
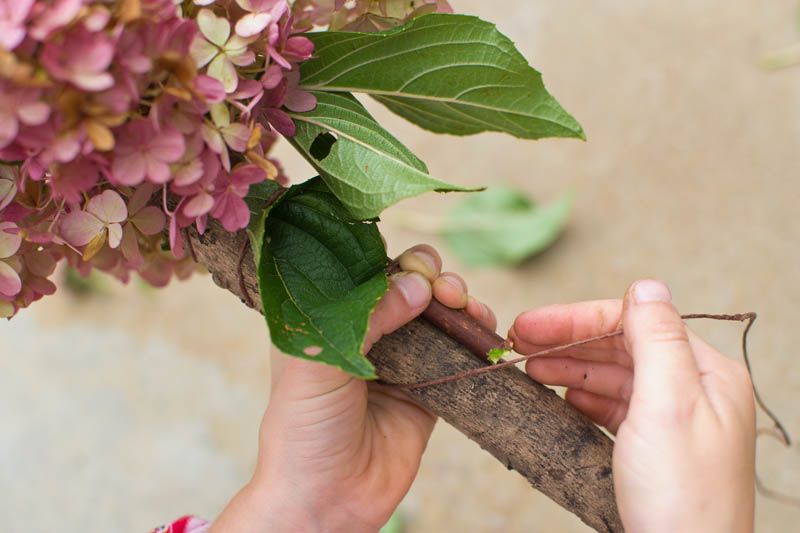
- Cut a longish piece of the twine and tie it to the top of the stick, then start to wind it around the stick while incorporating the natural objects in the desired order. Keep it tight and make sure to leave a gap for the hand. (We didn’t think of this until it was too late.) The gap should be approximately at the height of the arm when it’s stretched out straight to the side. This will make it easier to hold the stick when walking with it.
- Cut more twine as necessary and tighten it as you go. Cover the entire stick or just part of it, whatever your child feels like!
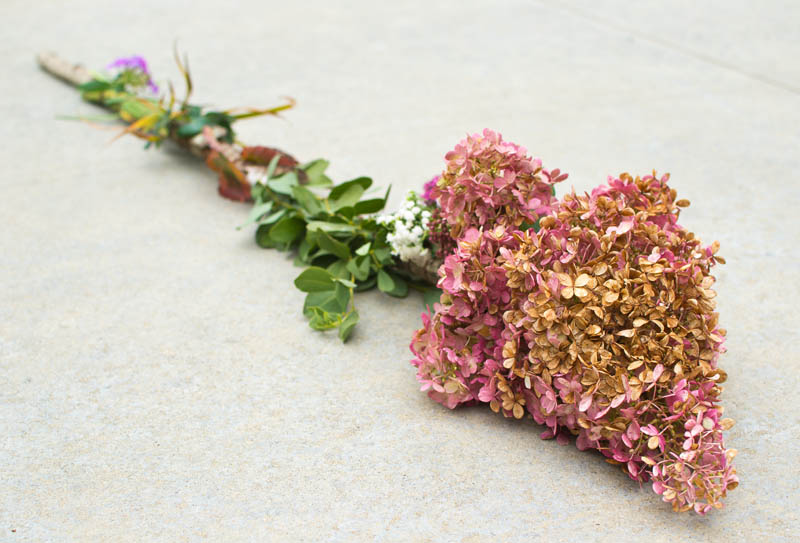
My girls were so happy with their hiking sticks that they decided to use them as decor in their outdoor playspace rather than walk with them. I hope your kids will like this activity as well, and remember that there is no right or wrong way to do it. Keep it open-ended and let your child rejoice in the process rather than focus on a specific product. Enjoy!


My boys will take an reason to play with sticks! Thank you for the new idea!
Any Holiday Gift Guide this year?
You’re very welcome! Unfortunately, I’ve been too busy to do the holiday gift guide this year. I’m hoping to have more time for the blog after Christmas, though!