This is the seventh post in the popular series about forest school pedagogy and outdoor learning from Rain or Shine Mamma. Subscribe for email updates at the end of the post if you want to follow the rest of the series this fall and winter! If you missed the first part of the series, make sure to check out DIY Forest School I-V and DIY Forest School VI: Rock Stacking as well. The activities are independent of each other don’t need to follow in any particular order.
 As I have mentioned before, children are natural collectors and we often bring a reusable bag on our nature walks in case my kids find something interesting. But for today’s forest school activity you’re the one that will be doing the collecting!
Age: Preschool
Time: 30 min+
Materials:
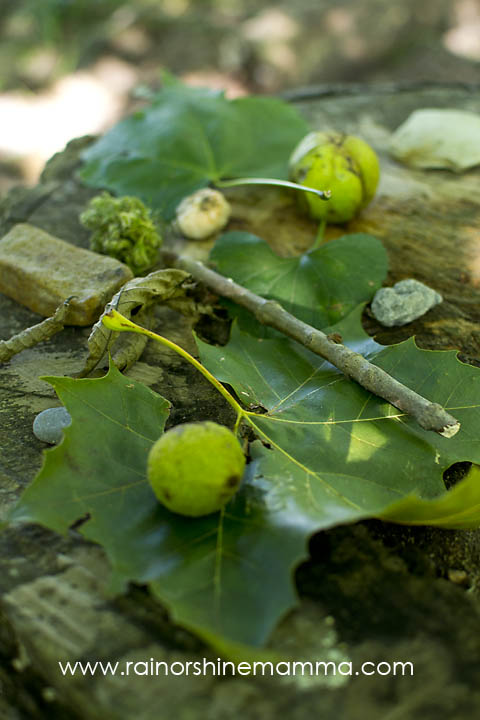
- Natural objects of varying sizes and shapes, for example sticks, leaves, rocks, seeds, berries and tree nuts. You can also toss in a few non-natural items to make it a little trickier and start a conversation about what belongs in nature and what doesn’t.
- Reusable bag to put the items in.
- Blindfold
Place: Any natural area with an abundance of loose parts.
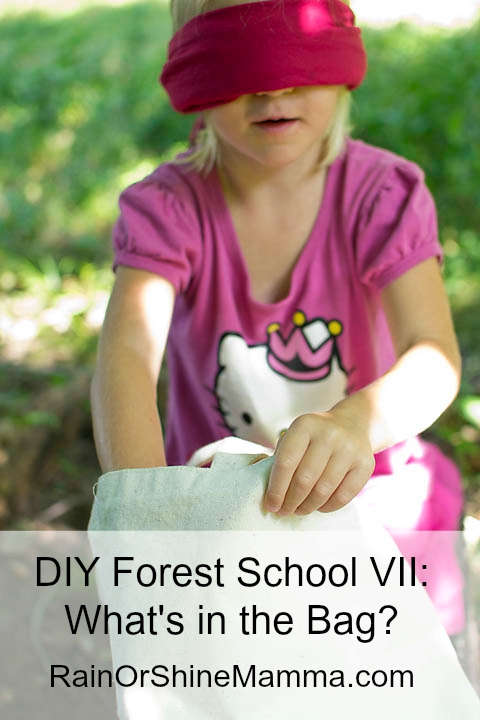
How to do it: Go for a nature walk and collect 10-15 natural items along the way – but don’t let your child see what you’re picking up. You can also choose to do this in advance. When you’re done, sit down and explain that you have a mystery bag and that you need help figuring out what’s in it. However, they can’t look in it; they need to use touch and, in some cases, smell to identify the items.
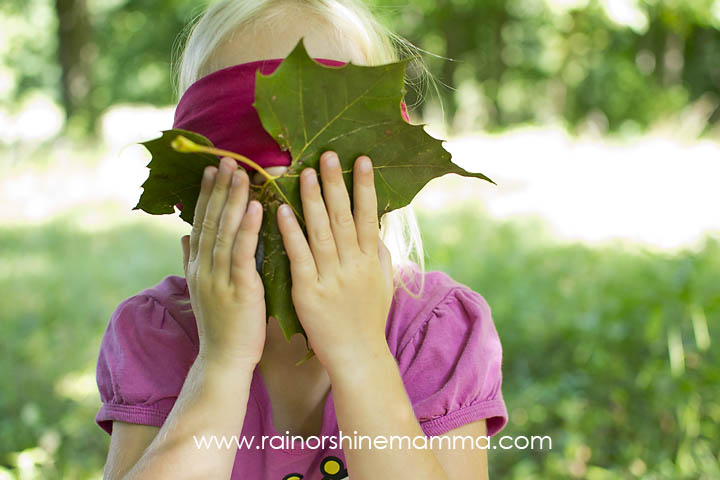
 Put a blindfold on your child and let him/her fish out an item from the bag and describe it to you. Encourage him/her by asking questions. When I did this activity with the Little Naturalist (4) recently, it went something like this:
“How does it feel against your hand?” (Hickory nut)
“It’s soft and smooth.”
“Okay. What shape does it have?”
“Hmm. Sort of round. And it has bumps.”
“Where do you think it came from?”
“From the ground?”
“Yes, I found it on the ground, but where do you think it was before it fell on the ground?”
“On a tree?”
“Yes, that’s right, it’s a tree nut. Do you know what kind?”
“No.”
Then I removed the blindfold to let her look at the nut and try to match it to the correct tree. After that, we moved on to the next item.
 Here are some more sample questions:
Is it heavy or light?
What does the edge feel like?
What does it smell like?
What color do you think it is?
Is it smooth or rough?
Can you eat it? Can animals eat it?
Some items are obvious right away, whereas others are more difficult to guess. The idea is to get the child to think beyond “it’s a leaf” or “it’s a rock” and describe the items in more depth. Doing this will hone the child’s observation skills and encourage him/her to look at common natural objects in new ways and, eventually, learn how to identify different types of leaves, nuts and trees.
This activity is also great for expanding vocabulary and practicing math words like shapes. All children can benefit from this activity, but it is especially beneficial to tactile learners, as it is largely based on touch.
Variation: Let your child pull an item out of the bag and ask him/her to find an exact (or close to exact) match in nature.


I love this! Montessori education uses a similar activity to encourage pre-school aged children to use all their senses when describing and relating to objects. They use the same technique to teach older children the names of three dimensional shapes.
How neat! I’m sure the Montessori pedagogy overlaps with the forest school approach in many ways, since they both emphasize the role of nature. Thanks for reading!
Great post! We love doing this with my daughter. I remember doing something like this when I was younger and always enjoyed it!
Thank you, Ashleigh! It was a big hit with the kids, and they loved going back a few weeks later to see if their little cairns were still standing.
I love these ideas. Thank you for sharing.