Making bread on a stick is a classic outdoor activity for families in Scandinavia and something that made for unforgettable childhood experiences for me growing up. So needless to say, I was pretty excited to try it with my own girls for the first time recently. The bread itself is super easy to make and it’s really as much about the experience as it is about the bread. We had a blast and the Big Naturalist, who is extremely picky, ate until I thought she would explode, then asked for more. While we were sitting around the fire, she also exclaimed that it was “the funnest day ever!” It was another reminder that more often than not it’s the simple things in life that matter the most, especially when you can do them outdoors together as a family!
I chose to prepare and divide the dough in the house, then brought it out for grilling, but since the bread doesn’t need to rise and the recipe is very simple, you can make the whole thing outside. I can almost guarantee you that the kids will love to help!
Basic Bread on a Stick Recipe:
- 2 cups flour (I use spelt flour to make it healthier, but pretty much any flour will work)
- 2 tsp baking powder
- 1 tsp salt
- 0.75-1 cup cold water
- Sticks for grilling the bread
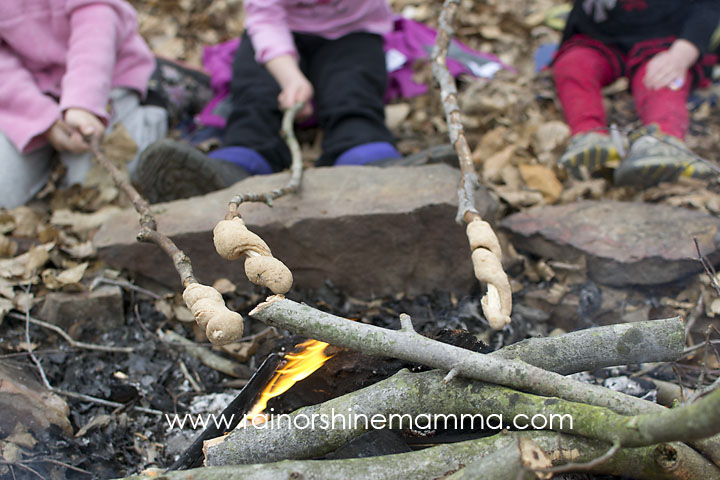
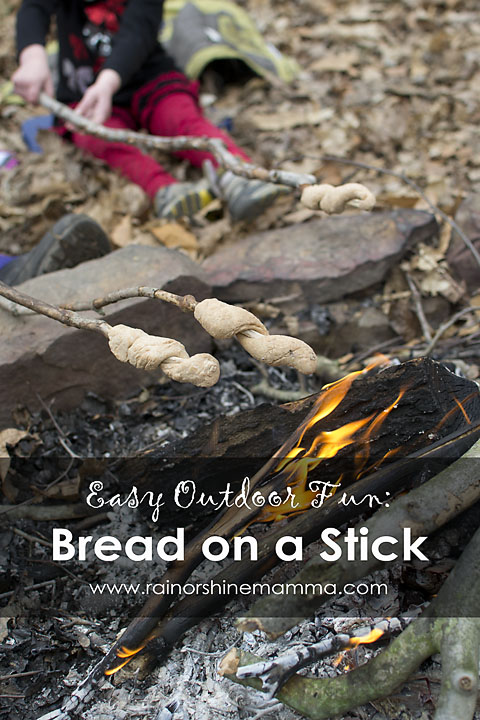
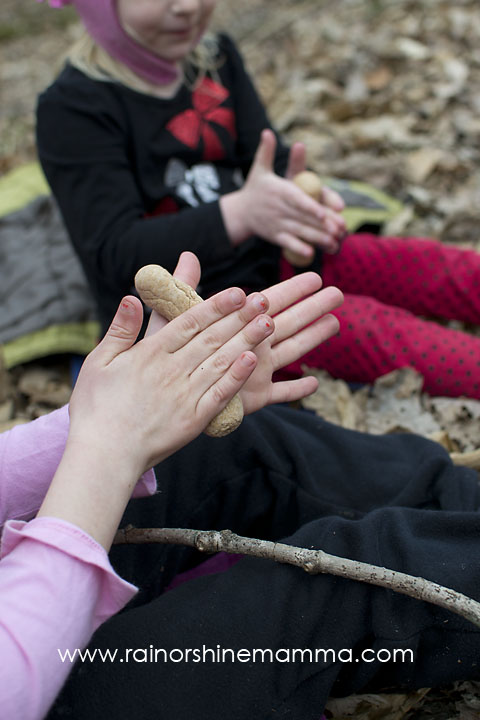
Combine all the ingredients in a bowl. Add the water a little at a time, until the dough is firm and smooth. Divide it in 12 pieces and roll them in your hands until they are long and thin (approx. 8-10 inches). Have the kids go on a hunt for suitable sticks and help them cut off protruding twigs with a knife. Then twirl the bread around the stick and make sure that it’s on properly before putting it over the fire. We had an open fire in the woods, but if that’s not an option for you, it can also be done on a grill.
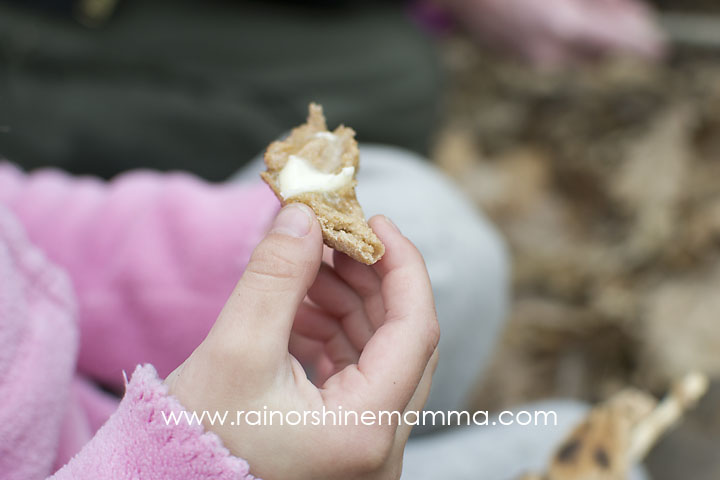
Make sure to turn the bread while holding it over the fire and take care not to burn it. It’s done once it’s golden brown on the outside and baked on the inside. Gently remove it from the stick and serve with butter. Delish!
What’s your favorite thing to cook or eat outdoors?


This looks so easy, I really have to try this. Thanks for sharing such an easy how-to guide.
It really is that easy! I hope you’ll try it – I bet the nursery school kids would be all over this.
Looks so much fun! I want to do this but i really dont know if we are allowed to start a small bonfire here. Thanks for sharing. #countrykids
Well, bummer! Maybe try it on a grill?!
We do this when we go camping. Lovely with strawberry jam. Yum. #CountryKids
I’ve never tried it with jam – sounds good though! Thanks for stopping by:o)
Hi, lovely post. We do this alot, and is so lovely and simple for the children to do. They love it dipped in jam or chocolate spread.
Mmmm, chocolate…I need to try that!
Thats a fantastic activity to do with children! I’d love to try that some time.
Thanks for linking #LetKidsBeKids
Karen, it is ingenious in its simplicity! It’s something that we’ll be doing over and over again.
Has anyone tried a GF version?
I have not but that shouldn’t be difficult to do. I bet they would work just as well with buckwheat and maybe a little bit of coconut flour!
We are very excited to try this tonight! Thank you!
It’s definitely a fun one to do with the kids!