Why wait for Earth Day to talk to our children about conserving our planet’s resources and living sustainably? This simple outdoor science experiment can be done during any of the warmer months and will help introduce the concept of biodegration in a fun and hands-on way!
I think the best way to raise eco-conscious children is simply to involve them in everyday activities that increase their awareness of conservation, for example composting and recycling, and strengthen their bond with nature by taking them outdoors as much as possible.
Having said that I sometimes like to change things up with a more directed learning activity. Last year, for example, I did an Earth Day recycling game both for my kids at home and for the Big Naturalist’s kindergarten class. And last fall, the Little Naturalist explored littering with the question ‘Does it belong in nature?’ during one of our DIY Forest School sessions.
This year I’m adapting an activity that I first saw at a nature preschool in Sweden. The idea is to introduce the concept of biodegration by investigating what happens to a few of our common household waste products.
What you need:
- A wood plank, approx. 3 ft long
- Nails
- Hammer
- 5-8 sample materials of your choice. We used a banana peel, a slice of bread, a piece of a milk carton, a newspaper clipping, a piece of cardboard, part of a styrofoam egg carton, a plastic bag and a snack bag.
- Notepad and pen
- Shovel
How to do it:
- Let the children help pick out the materials they want to use for the experiment – that way they’ll be more invested in it.
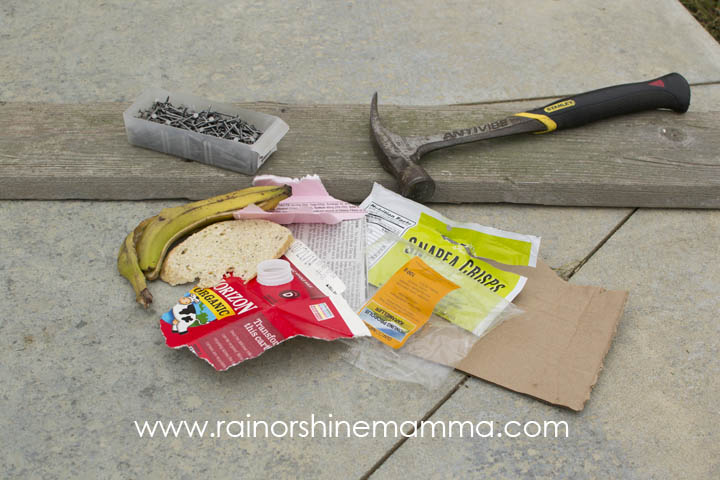
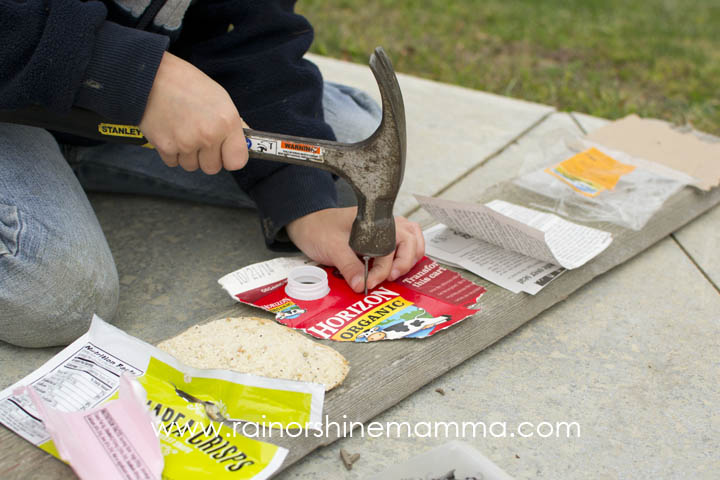
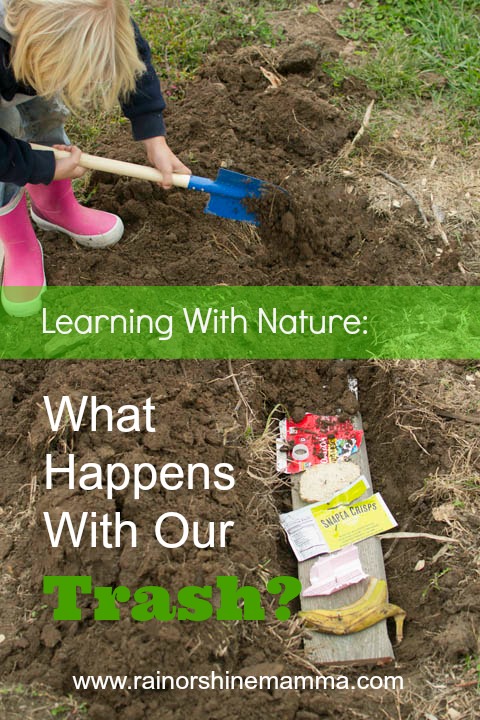
- Line up the materials on the plank and nail them in. I let the Big Naturalist (who is 7) use the hammer by herself, but a younger or less experienced child may need assistance.
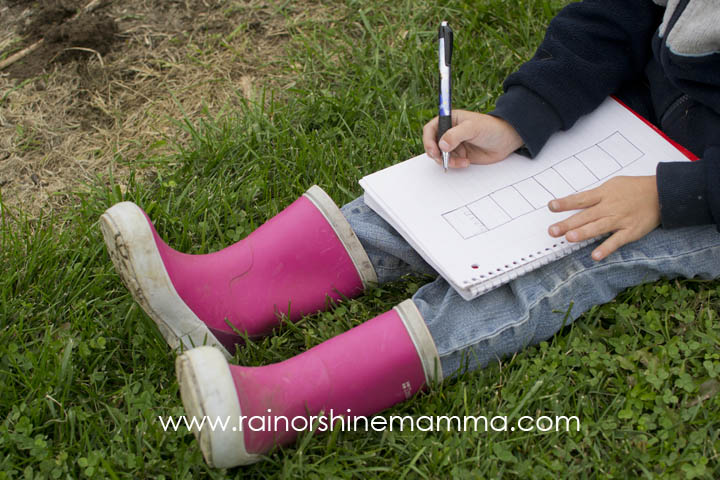
- Use the notepad and pen to make a simple chart of where each item is located on the plank. This will make it easier to follow up the experiment later.
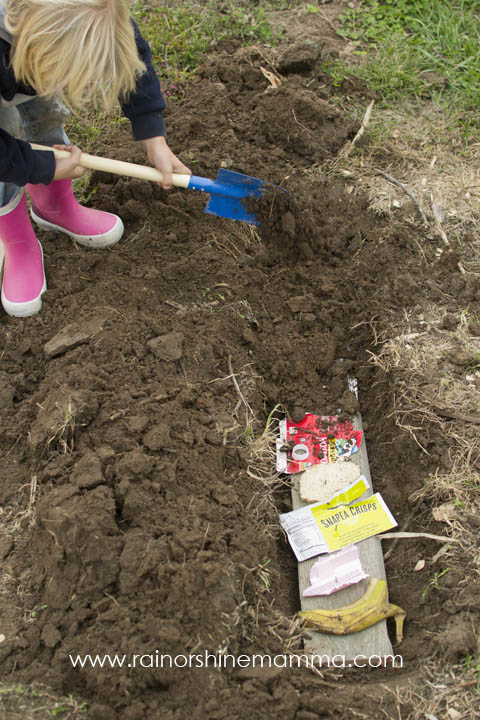
- Dig a shallow trench that is large enough to accommodate the plank. Place the plank in the hole, cover it up and mark the beginning and the end of the plank with some rocks or sticks.
- Wait for a set amount of time, then dig up the plank and investigate what has happened to the materials. The time required will vary depending on the season – in the summer a week will be enough to notice significant changes, whereas you may need as much as a month in the spring and fall. After you make your initial observation, you can put the plank back and check again at a later date.
Variation: If you don’t have a good space to bury a plank, you can leave it out in the open. Just make sure to pick a spot where nobody will risk stepping on the nails, for example by hanging it from a tree or wall.
The idea with this nature learning activity is to show that some materials are natural and biodegrade fast, whereas others waste products remain on Earth for a very long time. This will become obvious as you’ll observe how earthworms and microorganisms quickly break down the biodegradable materials, whereas the plastic will look essentially the same as the day you buried it.
This post is part of the Natural Parenting Guide and Earth Month Blog Hop hosted by ALLterNATIVE Learning. Make sure to check out the tips and tricks from 40+ other bloggers as well!

Thanks for a neat idea. I’m working with an Environmental Club and I’m going to do this with them. We are working on recycling and what a wonderful way to show them what happens to our trash. Thank you!
Oh good! It really is a neat and eye-opening activity for the kids.