
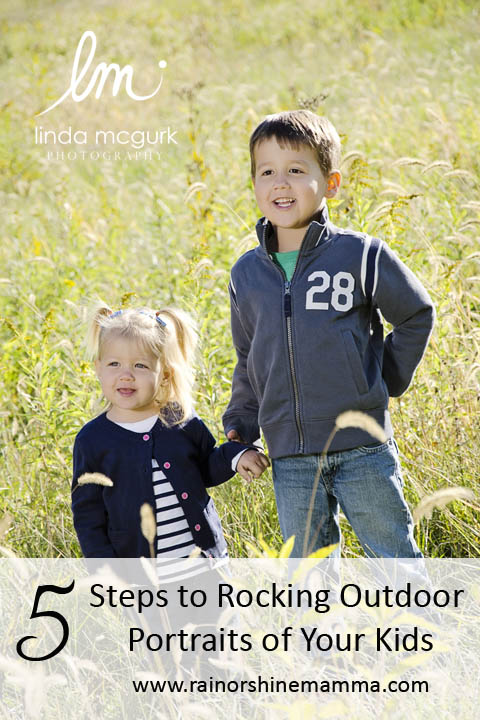
When I’m not working on this blog, I work as a writer and photographer, and today I’m sharing some of my “secrets” for taking better outdoor portraits of children. Fall is a wonderful time for outdoor photography. However, these handy tips can be applied to outdoor portraits any time of the year!
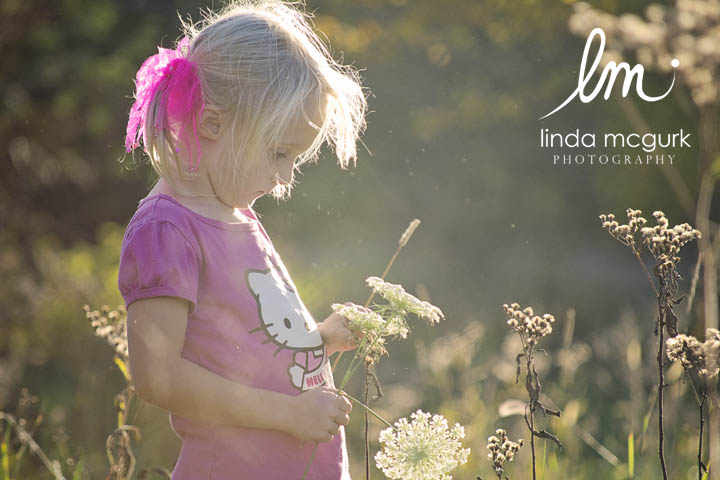
Find the best light
Forget the background, forget the props, forget the outfits. The word photography literally means drawing or writing with light, and when you plan your outdoor portraits, the most important thing to look for is good light. If you’re going to use natural light only, the best times to shoot outdoor portraits are early in the morning or later in the evening. The sun produces its softest and most appealing light in the last hour before sunset, or what photographers sometimes call “the golden hour.” Back light your child with the sun for a nice halo effect, or light from the side to create attractive shadows. Avoid dappled sun on faces, as this makes the skin look spotty. Overcast days usually also work well for portraits, since the clouds soften the light.
TIP: Use a white sheet to reflect sunlight back onto your child’s face when shooting in the evening. If you have to photograph in the middle of the day you can also soften the light by letting the sun filter through the sheet.

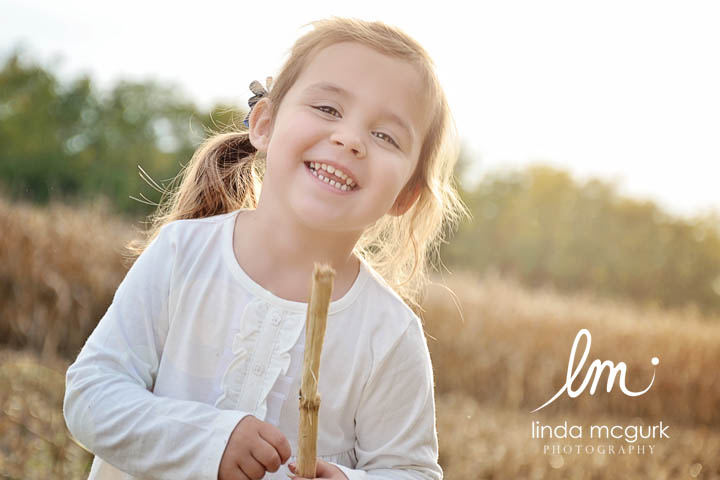
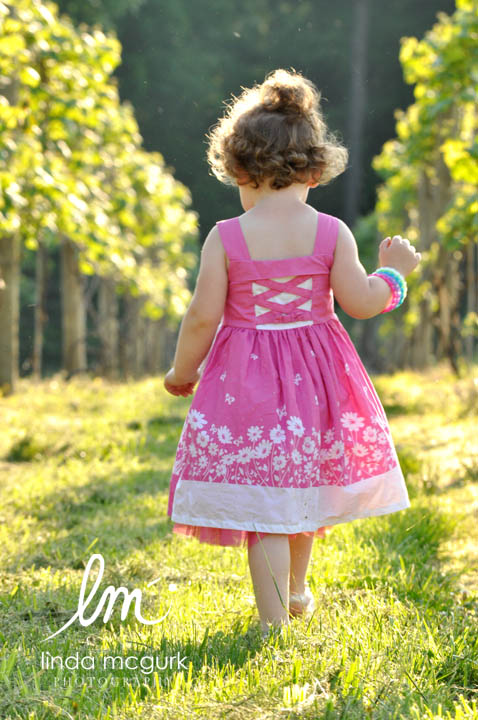
Give them something to do
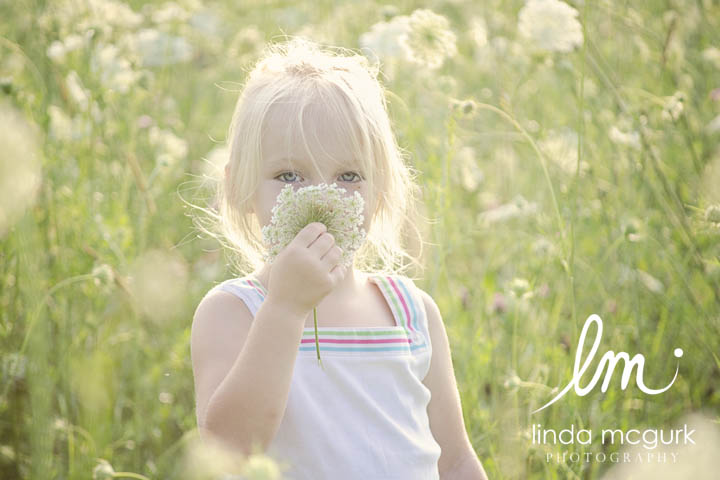
Getting kids to pose in a natural way for outdoor portraits can be a challenge. Depending on their age, they may either not stay still long enough for you to pose them, or they’ll overdo both the pose and smile. To get kids to cooperate and relax, I’ve found that it really helps to give them something to do, and the outdoors is the perfect place for it. For example, ask them to pick some flowers, look for pine cones or walk away from me. Go ahead and get some candid shots and then, when you think the moment is ripe, try to get their attention again by saying, “Hey, look over here!” “Let me see what you’ve got!” or something like that. It may take several tries, but most of the time I’ll get the shot I want.
TIP: Do your portrait session in an area with even light, so that your camera settings won’t get thrown off when the kids move around.
Embrace the candid moments
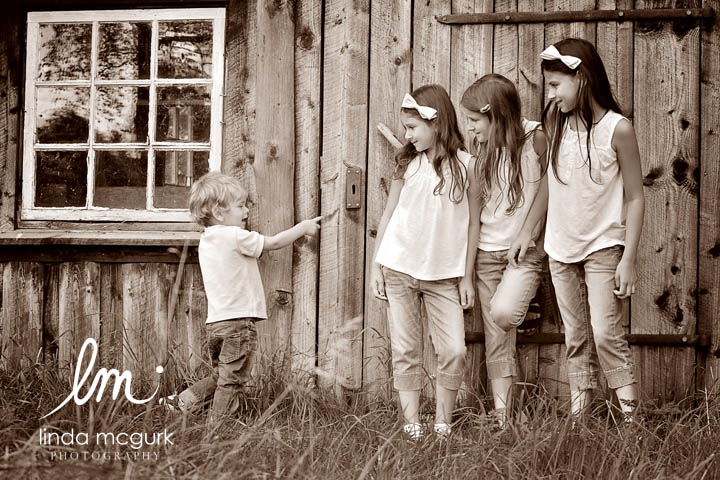
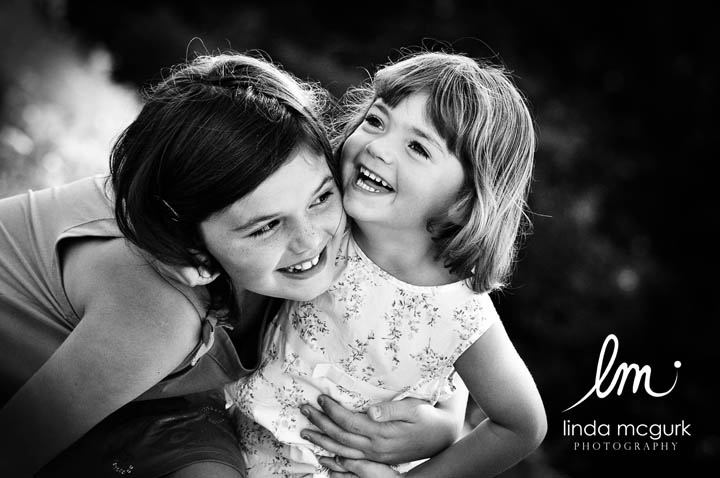
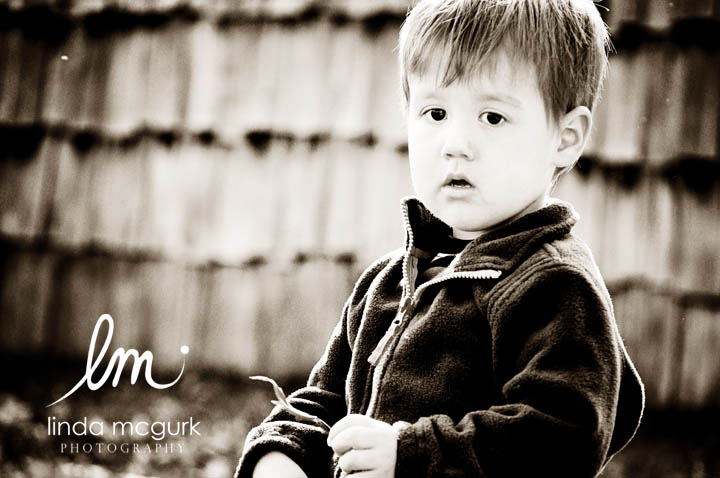
Don’t get too stuck on a specific outdoor portrait idea that you have – children are unpredictable and sometimes some of my favorite shots from a session are not the perfect portraits, but the unexpected ones that tell a story. If I’m photographing several siblings, I encourage them to interact and have fun together. That usually brings out the most authentic smiles and the most natural poses. Even if I’m not getting smiles, I don’t force it. I’ll take an authentic, serious facial expression over a forced smile any day.
TIP: Don’t get stuck on getting your child to look into the camera. Sometimes the portraits where they don’t tell a more interesting story.
Play around with perspective
If you place your child too close to a busy backdrop, it may end up distracting from the face. Instead, try moving your child toward the camera and further away from the backdrop. By having the backdrop farther away, it will become blurred out, allowing for your child’s face to really “pop.”
Or, immerse your child completely in the backdrop and zoom in on him or her through natural features like tree branches, flowers, leaves or tall blades of grass. This creates a nice, soft frame and makes the face stand out. A portrait can get a totally different feel with a change of perspective, so don’t be afraid to play around with your position, as well as your child’s.
TIP: Vary your position – get down on your knees, then get up high and shoot from above, back up, then come in close. The results may surprise you!
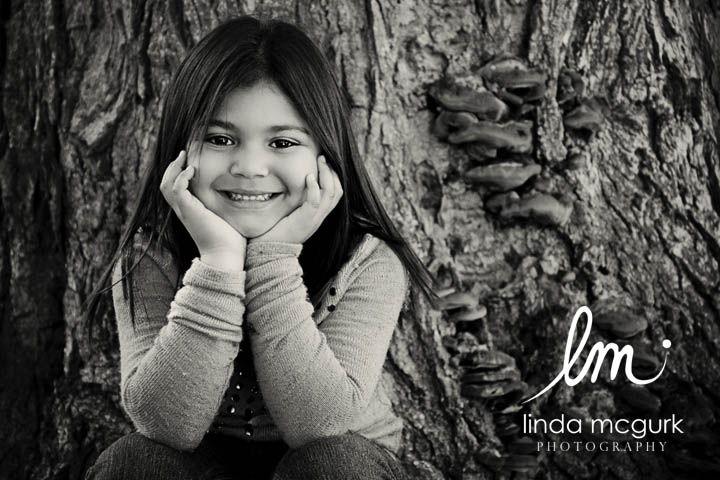
Take advantage of nature
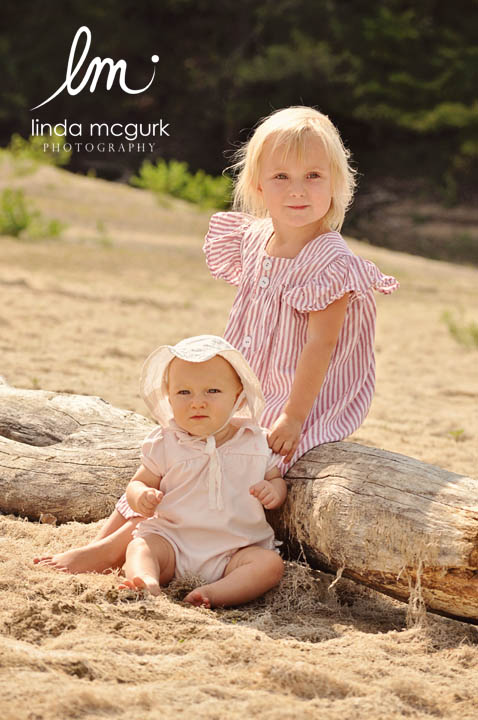
One of the reasons I like to photograph children outdoors is that nature is so full of interesting textures and colors. For example, I love to contrast the soft skin of a child’s face with the rough texture of tree bark. I also take advantage of natural features as props whenever possible. A fallen log can be extremely versatile – kids can use it to sit on, balance on, hang onto, lean up against and so forth.
TIP: If you’re photographing several children, have some of them sit or stand on rocks and/or logs, to create multiple layers and an attractive, non-linear pattern.
Have a Helper
OK, I know that makes six tips rather than five, but I’m tossing this in as a last bonus. Too many times, photo shoots with my own kids have ended in frustration and disappointment because I’ve tried to do it all by myself. In fact it really helps to have an assistant, whether it’s your spouse, a grandparent or a friend, to distract the kids and keep everybody in a good mood.
Good luck!
Psst…have you checked out my Pinterest boards lately? They’re chock-full of all things related to kids and nature.

Your photos are gorgeous! Thank you so much for sharing these tips. (Some of us need all the tips we can get!) The candid pictures of the kids in front of the barn in senna is my favorite. Thanks for the suggestions and the inspiration! What camera and lens do you use to get the blurry background effect?
Thank you for reading, Anna! I use a Nikon D7000 with a Nikkor 18-140 mm lens for most of my images, as it’s a really good all-round lens. However, I also really like the Nikkor 50 mm prime lens for portraits, as it gives the background a really smooth look. The trick is to open up the aperture as much as possible (as in the lower the number the better), since this gives the image a shallower depth of field. If you’re using a zoom lens it also helps to back up and zoom in on the subject. Hope this helps!