Fall. The season for finding the perfect pumpkin in a muddy field, grilling s’mores over a comforting campfire and creating process art with the help of tree nuts. Yes, art and nuts – they’re a thing! And fall is the perfect time of the year for it, since the ground is chock full of nuts and the changing colors of nature provide ample inspiration.
I’ve embraced open-ended process art ever since my kids were old enough to hold a crayon. At first, it was just a handy excuse for my complete lack of interest in making picture-perfect paper plate spiders and glittery hand print trees with toddlers (who would more than likely spill said glitter all over our floor). But the more I learned about process art versus product-focused art experiences, the more I came to love the former. As it turns out, a child-led approach to art has many benefits.
So what is process art and how is it different from a craft or a product-focused art experience? Consider this a crash course, courtesy of Teaching Young Children:
In process art…
…there are no step-by-step instructions
…there is no sample for children to follow
…there is no right or wrong way to explore and create
…the art is focused on the experience and on exploration of techniques, tools, and materials
…the art is unique and original
…the experience is relaxing or calming
…the art is entirely the children’s own
…the art experience is a child’s choice
…ideas are not readily available online
Nature is a great setting for process art, since it offers non-conventional materials and a variety of textures to experiment with. Collecting the materials gives you and your child a chance to connect with the natural world and creating your art work under the open skies (weather permitting) offers extra time out in the fresh air. The best part about this type of art is that it’s all about finding joy in the process of creating and that you never quite know what the end product will look like. This is comforting to those of us who aren’t super artsy.
Process Art with Tree Nuts
Materials:
- Tree nuts
- Non-toxic tempera paint (I like the School Smart paints, but I would take the washable claim with a grain of salt.)
- One canvas per child
- Old sheet to sit on (optional but helps keep messes contained)
- Paper or plastic plates for mixing the paint
- Paper towels – because yeah, you know you’ll need it!
Instructions:
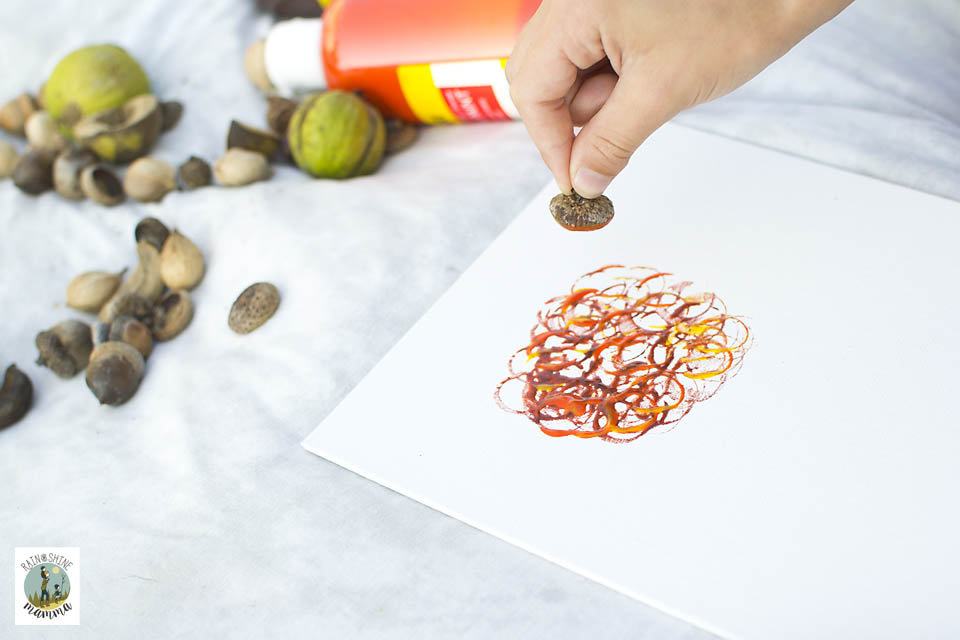
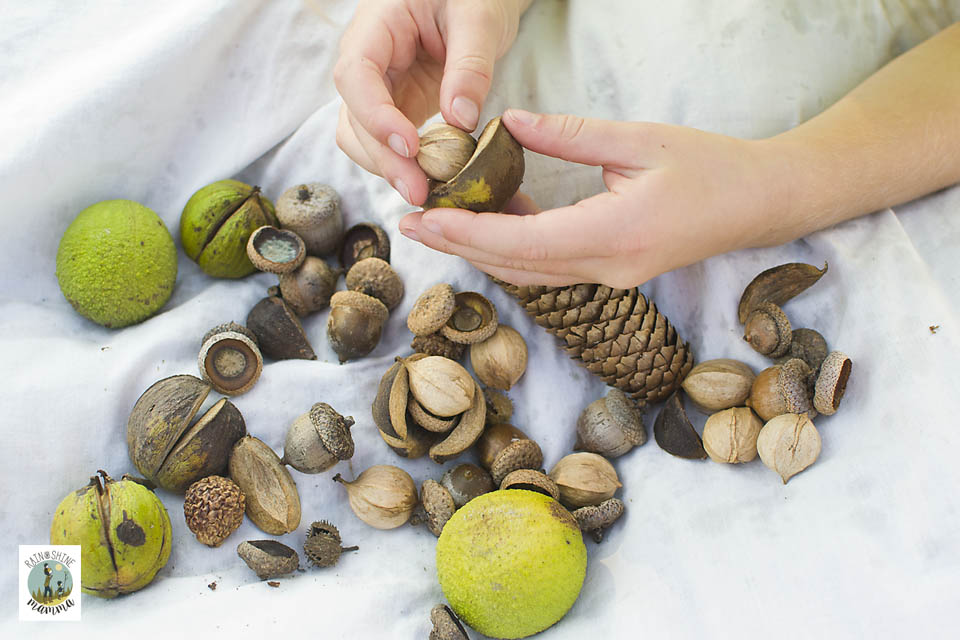
- Go outside and collect some tree nuts and/or seeds, for example walnuts, acorns and pine cones. Try to find a variety of shapes and textures.
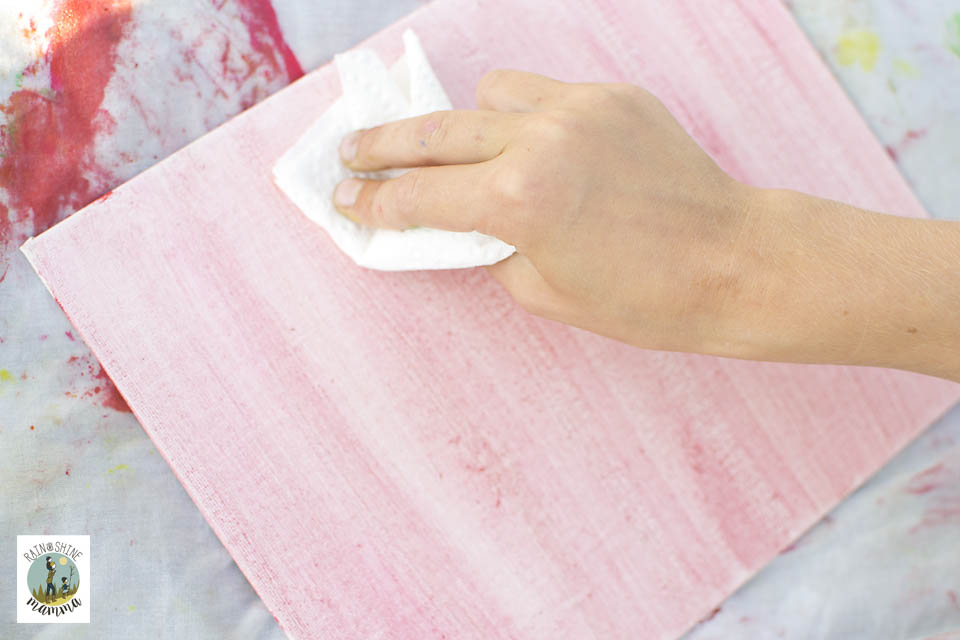
- Pour out some of the paint on the paper plates and use a piece of paper towel to create a background by rubbing some of the paint on the canvas (optional).
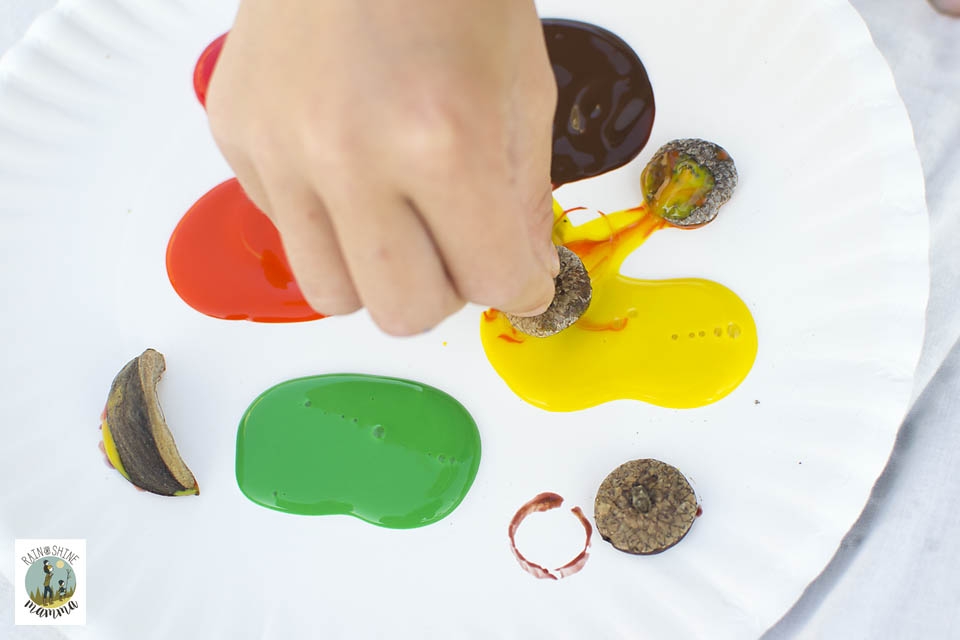
- Roll or dip the nuts in the paint and let your imagination run wild with the canvas!
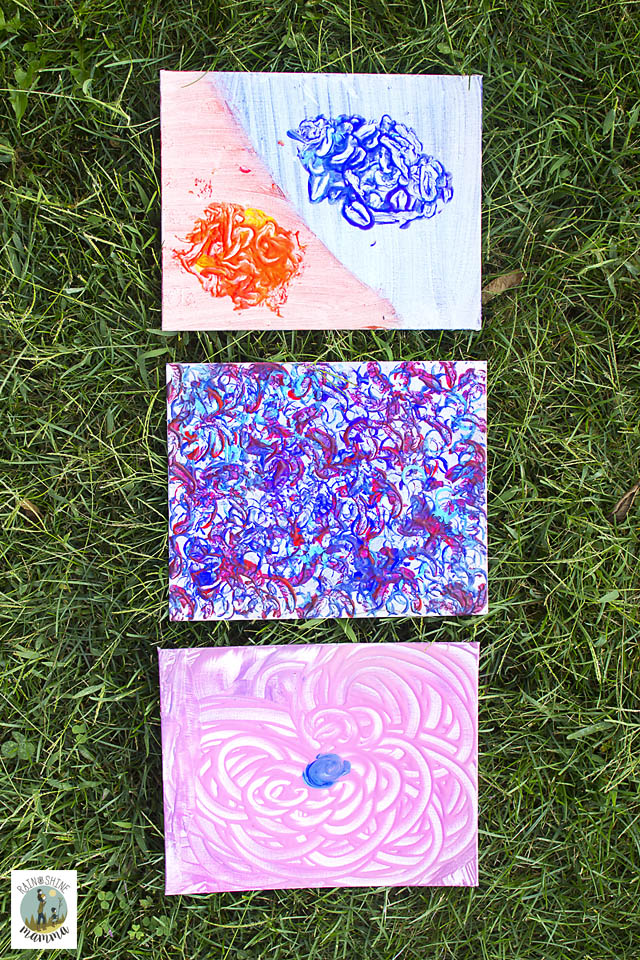
My girls and I had a blast with this open-ended art activity and I bet you will too. I included a picture of our works below – but honestly it was never about the finished product anyway.
